

When it comes to 3D printing with PLA (polylactic Acid), understanding the factors influencing print speed is crucial for achieving optimal results. PLA is a popular choice among 3D printing enthusiasts due to its ease of use, biodegradability, and wide availability. However, the speed at which PLA prints can be produced varies based on several key factors. In this guide, we’ll explore everything you need to know about PLA print speed, including its impact on print quality, factors that affect speed, tips for optimizing speed without compromising quality, and considerations for different types of prints.
Contents
- 1 What Factors Influence PLA Print Speed and Quality?
- 2 Normal Techniques for Enhancing PLA Print Speed
- 3 PLA Print Speed Setting for 3D Printer
- 4 Specific Speed Settings for Different Parts
- 5 How to Determine the Ideal Print Speed: Using Print Speed Test Models
- 6 SelfCAD: Best 3D Printing Software
- 7 Conclusion
What Factors Influence PLA Print Speed and Quality?
PLA print speed refers to how quickly the printer extrudes filament through the nozzle onto the build platform, usually measured in millimeters per second (mm/s). This speed has an immediate effect on the amount of time needed to finish a print and also on the end product’s quality.
The relationship between print speed and print quality is crucial. While faster speeds promise quicker results, they can compromise quality in several ways. Firstly, rapid extrusion reduces the time available for each layer to cool and bond properly, which may result in weak spots vulnerable to cracking or separation. Secondly, high speeds can cause inconsistent extrusion, leading to a rough or uneven surface finish on printed objects. Lastly, overly fast movements during printing can introduce minor errors, causing the dimensions of the printed object to slightly deviate from the original design.
Choosing an appropriate print speed involves balancing efficiency and quality. Optimal speeds ensure that each layer adheres well, resulting in smoother finishes and accurate dimensions, ultimately enhancing the overall quality of PLA prints.
Normal Techniques for Enhancing PLA Print Speed
Optimizing print speed:
- Baseline Speed Settings:
- Begin with the manufacturer’s recommended settings for PLA.
- Typical speeds range from 40 to 60 mm/s.
- Incremental Increases:
- Gradually increase print speed in small stages (e.g., 10 mm/s).
- Keep an eye on problems like stringing, under-extrusion, and layer shifting.
- Adjusting Acceleration and Jerk Settings:
- These settings control how quickly the printer accelerates and decelerates.
- Increased values could reduce print times but increase the possibility of print defects or mechanical stress.
- Acceleration:
- Gradually increase acceleration settings.
- Start with 500 mm/s2 and test up to 3000 mm/s2.
- Jerk:
- Adjust jerk settings cautiously.
- Standard values range from 5 to 20 mm/s.
Printer-Specific Adjustments:
- Firmware Upgrades:
- To enable faster speeds and more advanced functions, confirm that the firmware on your printer is up to date.
- Ensure your printer’s firmware is up-to-date to support higher speeds and advanced features.
- Direct Drive vs. Bowden Extruders:
- Direct drive systems handle faster speeds than Bowden setups due to reduced filament retraction distance.
Slicing software settings:
- Layer Height:
- Balance speed and quality.
- For faster prints, 0.2 mm layer height is preferred.
- Infill Patterns:
- Print times are faster for simple infill patterns like grids or lines than for more complicated ones. The firmware on your printer has been updated to enable enhanced functions and faster speeds.
- Print Speed Settings:
- Outer Wall Speed: For a better surface finish, the outer wall speed must be lower than the main print speed.
- Inner Wall Speed: Slightly higher than the outer wall speed.
- Infill Speed: This can be set higher than wall speeds since it affects internal structure.
Cooling and Temperature Management:
- Cooling Fans:
- Ensure cooling fans are operating efficiently.
- Poor cooling may result in print defects and poor layer adhesion at higher speeds.
- Extrusion Temperature:
- Increase the extrusion temperature slightly (5-10°C) to improve flow at higher speeds.
- Avoid overheating, which can cause stringing and blobs.
Troubleshooting Common Issues:
- Stringing:
- Increase retraction speed and distance.
- Lower print temperature.
- Layer Shifting:
- Check for mechanical issues.
- Tighten belts and ensure the printer is on a stable surface.
- Under-Extrusion:
- Make sure the extruder is calibrated and the nozzle is clean.
- Increase print temperature if necessary.
- Warping:
- Use a heated bed.
- Employ adhesive aids like glue sticks or painter’s tape.
PLA Print Speed Setting for 3D Printer
To balance speed and print quality, maximize your 3D printer’s print speed settings by adjusting multiple variables.
Here are key settings available in popular slicing software like Cura and Simplify3D:
- Print Speed
- Description: Speed at which the extruder deposits filament to create each layer.
- Typical Range for PLA: 40-60 mm/s
- Key Considerations: Balance between speed and print quality; adjust based on printer and filament type.
- Ideal Speed
- Description: Highest speed, maintaining consistent layer adhesion and surface finish.
- Typical Range for PLA: Varies
- Key Considerations: Use test models to find the optimal speed, and watch for over/under-extrusion signs.
- Travel Speed
- Description: Speed at which the printhead moves between printing locations without extruding filament.
- Typical Range for PLA: 120-180 mm/s
- Key Considerations: Ensure efficient movement, and avoid ringing (ghosting) by not setting it too high.
- Support Structure Speed
- Description: Speed for printing support structures.
- Typical Range for PLA: Match/Exceed Print Speed
- Key Considerations: Ensure stable adhesion, and facilitate easy removal post-print.
- Retraction Speed
- Description: Speed at which filament is retracted into the nozzle when the printhead moves between print areas.
- Typical Range for PLA: 40-60 mm/s
- Key Considerations: Prevent stringing and oozing, and enhance print quality.
- Infill Speed
- Description: Speed for printing internal structures.
- Typical Range for PLA: Sync with Print Speed
- Key Considerations: Ensure consistent layer bonding and structural integrity.
- Initial Layer Speed
- Description: Speed for the first layer of the print.
- Typical Range for PLA: 20-30% of Print Speed
- Key Considerations: Enhance bed adhesion, and establish a stable foundation.
- Shells
- Description: Speed for printing outer and inner shells.
- Typical Range for PLA: Outer: Slightly higher than inner
- Key Considerations: Improve surface quality, and maintain print integrity.
- Other Settings & Calibration
- Description: Adjust cooling fan settings, bed temperature, and extrusion multiplier.
- Typical Range for PLA: As needed
- Key Considerations: Regulate heat distribution, and ensure uniform layer adhesion and print strength.
Specific Speed Settings for Different Parts
- Top and Bottom Layers Speed
- Description: Speed for the top and bottom layers of the print.
- Typical Range for PLA: Carefully adjusted to avoid issues like pillowing.
- Key Considerations: Crucial for print strength and finish.
- Top Surface Skin Speed
- Description: Speed for the print’s outermost layer, or skin.
- PLA’s Normal Range: decreased speed for a more effortless outcome.
- Key Considerations: Achieve a smoother and more aesthetically pleasing surface.
- Skirt and Brim Speed
- Description: Speed for the initial skirt (priming line) and brim (base) around the print.
- Typical Range for PLA: Adjustable for optimal print adhesion and filament priming.
- Key Considerations: It helps in optimizing print adhesion and filament priming.
How to Determine the Ideal Print Speed: Using Print Speed Test Models
Reliable Method
- Utilize print speed test models (print speed tower or test cube).
- Assess print quality at various speeds.
- Fine-tune settings for optimal results.
How Print Speed Test Models Work?
- Design and Setup
- Models have multiple sections, each printed at a different speed.
- Speeds range from low to high values in mm/s.
- Printing Process
- Slicing Settings: Import the STL file into slicing software (e.g., Cura, PrusaSlicer).
- Variation in Speed: Modify the slicer’s settings to match the labeled speeds of the model.
- Printing: Print the model with adjusted speed settings. Each section showcases print quality at different speeds.
- Evaluation
- Visual Inspection: Keep a watch out for degradation in quality in the print tower as speed increases.
- Look for ringing, layer misalignment, or surface imperfections.
- Comparison: Determine the highest speed that maintains acceptable print quality for your standards.
Where to Find Print Speed Test Models
- Online Repositories: Download STL files from Thingiverse, MyMiniFactory, or Cults3D.
- Community Recommendations: Get suggestions from 3D printing forums or communities for effective test models.
Benefits of Using Print Speed Test Models
- Optimization
- Determine the ideal print speed settings for your specific hardware and filament.
- Time Efficiency
- Systematically test and adjust speeds without compromising print quality, saving time.
- Precision
- Use empirical data to inform future print settings, ensuring consistent and high-quality 3D prints.
SelfCAD: Best 3D Printing Software
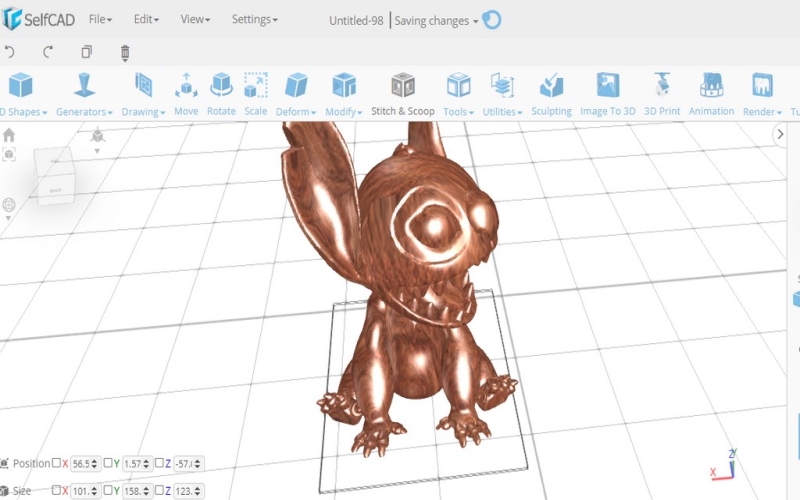
SelfCAD stands out as a versatile 3D modeling software designed for both beginners and professionals alike. It integrates powerful technical, artistic, and 3D printing tools into a user-friendly interface, making it a comprehensive solution for creating and preparing designs. One of its standout features is an integrated slicer, eliminating the need to switch between different programs to optimize designs for 3D printing. This slicer is compatible with most FDM 3D printers, ensuring compatibility and quality output.
Ideal for newcomers, SelfCAD offers intuitive tools for rendering, freehand drawing, and sketching, simplifying the design process. Professionals can leverage advanced features to create intricate designs efficiently. Whether you’re sculpting organic shapes or planning complex structures, SelfCAD’s streamlined interface and tool organization facilitate a smooth workflow.
Available for download or online use, SelfCAD supports both basic and complex 3D printing preparations, guaranteeing high-quality results. With options for annual, monthly, or perpetual licenses, SelfCAD remains accessible to users at various levels of expertise and project needs. Its affordability and comprehensive feature set make it a compelling choice in the competitive landscape of 3D modeling software.
Conclusion
In conclusion, mastering PLA print speed involves systematic testing with print speed test models, ensuring optimal settings for quality and efficiency. By fine-tuning speeds through empirical evaluation, 3D printing enthusiasts can achieve faster print times without sacrificing the integrity of their prints, enhancing the overall printing experience and outcomes.